Wednesday, September 26, 2012

Oatmeal Butterscotch Cookies


There's a big potluck coming up at work and I am baking cookies.  I plan on baking plain old chocolate chip cookies (recipe off the side of the Nestle toll house morsels package - still awesome after 50+ years) and two batches of oatmeal butterscotch (a favorite in this house). When I mentioned what I was going to bring, I had to promise to bring the recipe as well.  Being that I have to write it out anyway, I figured I'd post it.   If you want to try a really good cookie recipe that is just a little different, here you go: 


Oatmeal Butterscotch Cookies 

Ingredients: 
3/4 cup (1 1/2 sticks) butter, softened 
3/4 cup white sugar 
3/4 cup packed brown sugar 
2 eggs 
1 tsp vanilla extract 
1 1/4 cups all purpose flour 
1 tsp baking soda 
1/2 tsp ground cinnamon 
1/2 tsp salt 
3 cups rolled oats 
2 cups butterscotch chips 

Directions: 
Heat oven to 375 degrees. 

In large bowl, beat the butter, white sugar and brown sugar together. Add the eggs and vanilla, beating well. 

In a medium sized bowl, stir together the flour, baking soda, cinnamon and salt. Gradually add the flour mixture to the butter mixture; stir until blended. Stir in oats and butterscotch chips. Drop by tablespoonfuls about 2 inches apart onto ungreased cookie sheets. 

Bake at 375 degrees for 10 minutes, until the edges begin to brown. Transfer to a wire rack to cool. 

Makes about 5 dozen cookies. 


Monday, September 24, 2012

Raspberry Muffins


I had this recipe emailed to me and it looked really good. The recipe was actually for sugar crusted raspberry muffins but when I tried it, the batter wasn't sweet enough and the tops of the muffins stuck like glue to the top of the muffin tin. They weren't very pretty when I wrestled them out with a butter knife! So, as I always do, I made some modifications. Now they're sitting there, tempting me and every time I walk by I eat another one. This recipe is great for the friends back home that have raspberries ready in their gardens. I had to buy mine at the store but if I close my eyes I can pretend I picked them myself. Enjoy! 

Raspberry Muffins adapted from a recipe from Real Simple 


Raspberry Muffins

Ingredients: 
2 cups all purpose flour, divided 
3/4 cup sugar 
2 tsp baking powder 
1/4 tsp salt 
1/2 cup (1 stick) butter, melted 
3/4 cup milk 
1 large egg 
1 tsp vanilla extract 
1 1/2 cups fresh raspberries (I used two 6oz containers) 

Directions: 
Preheat oven to 400 degrees. Coat muffin tins generously with cooking spray or line with paper liners. 

In mixing bowl combine 1 3/4 cups of the flour, sugar, baking powder, and salt. Add melted butter and combine. Add egg, milk and vanilla and combine until well blended. 

In another bowl, toss the berries with the remaining flour. Don't worry if the berries break up. Fold the berry mixture into the batter. 

Fill the muffin cups and bake 20 minutes for large muffins, 15 minutes for mini muffins, or until a toothpick inserted in the center of a muffin comes out clean. Leave muffins in tins and allow to cool for 10 minutes before removing. 

Makes 24 large muffins or 36 mini muffins.


Sunday, September 23, 2012

Stove Top Pot-Pourri


I love fall.  I love everything about fall, especially the cooling off that comes with it.  Yesterday was the first day of fall.  Obviously, Arizona never got the memo.  It was 106 degrees and the high today is 102.  Sheesh.  If I can't actually HAVE fall, then I'm going to pretend it's fall anyway.  I am going to bake with pumpkin and make the house smell like fall.  And I'll share the recipes with you guys.  Two birds with one stone.

I love the house smelling good.  I went to a baby shower a while back and when I walked in, the whole house smelled like baking.  Cinnamon and vanilla and just plain good.  When I asked the hostess what she had done, she pointed to a pot on the stove that was happily simmering away.  "Stove top pot-pourri," she said.  I vowed to do this in my own house as soon as possible.

It's not fall here yet, no matter what the calendar says, but it sure smells like someone is cooking up some good stuff in my kitchen.  I just add some more water when the water gets low.  If only I could get the temperature to cool down a bit outside, I'd be in heaven.


Stove Top Pot-Pourri
adapted from a recipe on phillyburbs.com

Ingredients:
1 - 4 quart pot
1 Whole lemon with peel-slices
1 Tablespoon whole cloves
2 Tablespoons Vanilla
3 Cinnamon Sticks
2 Teaspoons grated nutmeg
Water

Directions:
Add all ingredients to pot and cover with water, pot should be ¾ full. Simmer on low heat on the stovetop. Water will turn brown from the cinnamon sticks and eventually evaporate. Add more water as water level gets low.  Leave simmering for as long as you like.  This will continue to be fragrant for many hours and make your house smell wonderful.  (Realtors suggest people do this when trying to sell a house).


Saturday, September 22, 2012

Now Printer Friendly and Labelled


I just made some changes to my little blog and now each recipe is printable. I don't know about you but when I am making something I NEED the printed recipe beside me (mostly because I can't stick to a recipe to save my life and am ALWAYS changing something). To use this feature, click on the "Print Friendly" icon below the post. I also labelled the recipe posts by recipe name to make it easier. Now you can just got to specific recipes by clicking on the right.  Hope this helps.  :)


Roasted Potato Stacks


My family loves these little potato stacks.  They take a long time to cook but the end result is worth it.  Just be sure to put them in the oven and THEN make the rest of your meal.  That way everything gets done about the same time.  Enjoy!


Roasted Potato Stacks
Serves 4
Recipe courtesy of Gourmandrecipes.com


Ingredients:
3 tablespoons olive oil
2 cloves garlic, minced
1 lb. Russet potatoes
Salt and pepper
sprinkle dried thyme leaves

Directions:
1. Preheat the oven to 375 degrees.
2. Make the garlic oil: combine the olive oil and garlic in a small saucepan and gently warm over low heat until fragrant but the garlic is not brown. Remove from the heat and set aside.
3. Peel the potatoes and thinly slice them with a mandolin.
4. Brush 8 muffin tins with the garlic oil with a pastry brush. Layer a potato slice in the bottom of a muffin tin and brush it with a thin layer of garlic oil. Layer another slice of potato and brush it with the garlic oil. Repeat until it stacks up to the top of the muffin tin.
5. Repeat step 4 with a new muffin tin until you have a total of 8 potato stacks.
6. Season with salt and pepper. Sprinkle the potato stacks with the dried thyme leaves.
7. Bake the potato stacks in the preheated oven for 35-45 minutes or until the potatoes are golden brown and cooked through.
8. Serve immediately with any main entrees.


Thursday, September 20, 2012

Banana Chocolate Chip Mini Muffins


I have four ugly bananas on my counter. It's either throw them out or make something with them. Since I have the extra time, I'll surprise my family when they get home with this simple but delicious recipe. 

I have been making this recipe since I found it in a cookbook given to me by my home economics teacher in seventh grade. It has been reworked a few times but it is the simplest recipe that I have ever come across and my family loves it. Today I am making mini muffins but it also makes loaves and regular muffins. The cooking times are at the end of the recipe and if you make a loaf you may want to sprinkle the top (before baking) with a little cinnamon and maybe a 1/4 cup brown sugar. It makes a nice topping. Or leave it naked... either way it's yummy! :) 


Banana Chocolate Chip Mini Muffins 


Ingredients: 
3-4 ripe mushy bananas 
1/3 cup butter (softened) 
1 tsp vanilla extract 
1 egg 
1/2 cup brown sugar 
1 1/2 cups flour 
1/2 tsp salt 
1 tsp baking powder 
1 tsp baking soda 
1/2 cup chocolate chips 
1/2 cup walnuts (optional) 

Directions: 
Preheat oven to 400 degrees. 

Mash bananas. Mix with butter, brown sugar, vanilla and egg until well combined. 

Add flour, salt, baking powder & baking soda and barely mix (just until incorporated).

Add chocolate chips and walnuts (if desired) and mix only enough to blend. 

Put into greased pan and bake at 400 degrees for: 
Glass Loaf Pan ~ 40 minutes (makes 1 loaf) 
Metal Loaf Pan ~ 35 minutes (makes 1 loaf) 
Regular Sized Muffins ~ 20 minutes (makes 24 muffins) 
Mini Muffins ~ 12 minutes (makes 36 mini muffins) 

The loaf/muffins/mini muffins are done when a toothpick inserted in the center comes out clean. Enjoy!

Wednesday, September 19, 2012

The secret to growing watermelons in Arizona

Late this spring, the kids and I planted a watermelon garden.  We live in Arizona so the summers are ridiculously hot and the ground really doesn't cooperate when it comes to growing a lot of things.  It seemed like forever but finally, small little green sprouts came up out of the garden.  We watered them and checked them almost every day.  Then it got hot.  REALLY hot and everything in my little greenhouse withered and died from the heat.  Even the things I moved out of the greeenhouse into the shade died.  Arizona summers are just too much for most living things.  Thanks, Mother Nature, for the reminder.

Then it came time for us to leave town on our family vacation.  I was about to wither and die as well so it was good timing.  For three weeks we were gone and no rain fell from the sky.  When we got back I was surprised to see that there was still signs of life in the watermelon garden.  Then the monsoon rains started.  If you're not familiar with this little phenomenon, let me tell you that you haven't lived until you have had hot rain fall from the sky while you watch your kids trampoline become airborne and land on the neighbors roof.... but I digress.  We've had an unseasonable amount of rainfall which has resulted in sticky conditions (not a dry heat at all), bloodthirsty mosquitoes that travel in gangs, and a very alive watermelon garden.

It's been over a week since we've had any rain and our temperatures are still over 100 degrees.  I started feeling guilty about the fact that the garden must be thirsty so I went out to give it a drink today.  When I got out there I realized that the garden has gone crazy and snaked it's way all over the yard.  It doesn't matter because the pool pump is the only thing in the same corner and I can tiptoe around that but it's seriously jungle-like out there.  I was giving the poor thirsty roots a drink when I noticed the first melon.

Isn't it cute?


Then I had to shock the pool and when I went to turn it on I found another one - nestled up to the pool pump.


And finally on the backside I found this one.  This one is the size of a newborn.


Who knew?  The key to growing watermelons in Arizona is to just leave them alone.  If you over water them they'll explode and then the birds and ants will have a feast (I did that three years ago).  So I will water once or twice a week, I guess, and keep ignoring them.  :)

Friday, September 14, 2012

Quick Barbeque Sauce

A while back, we were busy cooking dinner for a family barbeque when we realized that there wasn't any barbeque sauce in the house.  My husband is pretty adventurous and figured it would be just as easy to whip some up so he pulled out a cookbook and started gathering ingredients.  We had never made it before but the family loved it and we haven given out this recipe to almost everyone. We never buy barbeque sauce anymore. This sauce is easy  to make. The most tedious part is waiting for the sauce to thicken up (about 25 minutes).  The wait is worth it.


Quick Barbeque Sauce
Makes about 1 ½ cups

Ingredients:
1 medium onion, peeled and quartered
¼ cup water
1 cup ketchup
5 tbsp molasses
2 tbsp cider vinegar
2 tbsp Worchestershire sauce
2 tbsp Dijon mustard
1 ½ tsp liquid smoke
1 tsp hot pepper sauce (tabasco)
¼ tsp ground black pepper
2 tbsp vegetable / canola oil
1 medium garlic clove pressed through a garlic press (about 1 tsp)
1 tsp chili powder
¼ tsp cayenne pepper

Directions:
Process the onion with the water  in a food processor until pureed and the mixture resembles slush, about 30 seconds.  Strain the mixture through a fine mesh strainer into a liquid measuring cup, pressing on the solids with a rubber spatula to obtain ½ cup juice.  Discard the solids.

Whisk the onion juice, ketchup, molasses, vinegar, worchestershire, mustard, liquid smoke, hot pepper sauce, and black pepper together in a medium bowl. 

Heat the oil in a large non reactive saucepan over medium heat until shimmering but not smoking.  Add the garlic, chili powder, and cayenne;  cook until fragrant, about 30 seconds.  Whisk in the ketchup mixture and bring to a boil;  reduce the heat to medium low and simmer gently, uncovered, until the flavors meld and the sauce is thickened, about 25 minutes.  Cool the sauce to room temperature before using.  (Can be refrigerated in an airtight container for up to a week). 

Recipe courtesy of Cooks Illustrated


Wednesday, September 12, 2012

Worchestershire Beef Jerky

For my birthday last year, I wanted a food dehydrator.  My husband has been drawn for elk this year and if he gets one, I don't know what I'm gonna do.  I don't particularly care for the taste of elk.  I've been told that  maybe it wasn't cooked right and I sure hope that's the case.  In the meantime, however, I figured that if I could get proficient in making beef jerky, I could make elk jerky.  Can you turn an entire elk into jerky?

So far we have made several different kinds of beef jerky and while not all of the recipes have been winners, we have certainly learned a lot of lessons.  We just made a batch up this weekend and it's delicious.  Jerky is so easy to make.  Today's Jerky was referred to as "Jerky 3" up until today.  I think I will name it "Worchestershire Jerky" as that is the basic flavor that comes through almost immediately in the final product.  It turned out soooo good.  It's on the saltier side but not overpoweringly so.  And the best part was that my husband cut it nice and thin, less than 1/4 inch thick, so it took exactly 90 minutes in the dehydrator until it was done.  Awesome.


I found the recipe on the internet and didn't change it too much.  The original author of the recipe does it in the oven and uses more salt.  He calls it "Road Rage Jerky" and also has some issues with women from what I read.  Whatever - he makes a good marinade.  I adapted the recipe for my own use but original credit is located at the end of the recipe.

Here's a few tips that I've learned, and then the recipe from today's jerky.

Ten Jerky Tips:

1.  London Broil makes very tasty jerky.  Especially cut in strips of either 1/8 or 1/4 thick.  NO THICKER THAN THAT.  My husband is now a pro but I have been told that if you ask the butcher at the supermarket, they may cut it for you.  I don't know.  Butchers scare me.

2.  How you cut the meat determines the final result.  Evenly, thinly, and against the grain are key.

3.  Marinate, marinate, marinate.  What you put the meat in and how long you leave it there for really determine the final result.  Marinating under 12 hours is not going to get you the taste you want.  You have to let the meat take in the flavor.  You can't rush it.  you have to pay attention.  You need to move the meat around in there and flip the bag repeatedly while it marinates or it doesn't get through all of the meat.  A ziploc bag is a great thing to marinate in.

4.  Be careful with salt.  Salt seems to be the first thing that gets soaked up into the meat.  You can't take it out once it's in.  Too salty = bad.  Use garlic POWDER and onion POWDER, never the salt versions.

5.  Taste and smell your marinade.  If it is tasty before the meat, the meat will turn out great.

6.  Marinate in the refrigerator.  No one wants food poisoning.

7.  A food dehydrator is a good investment.  The oven just doesn't work the same.

8.  When a recipe says it'll take 5 hours, start checking it at an hour and a half.  Timing depends on temperature, thickness and moisture, not what a cookbook says.

9.  Don't be afraid to move the meat and the trays around.  Also, don't be afraid to remove the thinner pieces that are done before the thicker ones.  And it happens.  No one is perfect when cutting meat into strips.  But you need to know when they're done and take them out or they get all cardboard-y.  Yuck.

10.  And finally, don't ever put meat in the dehydrator and go to bed, thinking it will be done in the morning.  If you do this, you will get meat that is kind of like plywood.  Even if you set an alarm, you will be punished for your lack of attentiveness by over-dried jerky.  You'll regret it.


Worchestershire Beef Jerky

Ingredients:
1 ½ pounds London broil, sliced into strips against the grain 1/8 to ¼ thick. 
(Slightly freezing the meat prior to cutting makes it easier to cut)
1 cup of Worcestershire Sauce
3/4 cup of Soy sauce
1 Tablespoon of garlic powder  (not garlic salt)
1 Tablespoon of onion powder  (not onion salt)
1/2 teaspoon of chili powder
1/2 teaspoon of seasoned salt* (optional - you could leave this out and it would be fine)
1 teaspoon of medium-coarse ground black pepper
2 teaspoons of Louisiana style hot sauce (NOT TABASCO – Cholula works well)

 Directions:
In a Ziploc bag, combine the marinade ingredients.  Add the meat and push around to coat.  Put into the refrigerator and marinate at least 12 hours, moving the meat around in the bag and flipping the bag often to ensure that all meat gets flavored. 

Remove meat from marinade and lay out onto paper towels.  Use other paper towels to blot off excess marinade from the tops of the strips.  Lay out on dehydrator trays, leaving space between for air flow. 

Set dehydrator to highest temperature (160 degrees).  Begin checking jerky after 60-90 minutes.  Once sufficiently dried, remove to an open Ziploc bag and allow to rest and cool off for at least 30 minutes before putting into the refrigerator. 

Store in refrigerator for up to 2 months (it won’t last that long!)

Adapted from a recipe at http://roadrage13.tripod.com/jerky/jerky.html


Tuesday, September 11, 2012

Easy Chicken Caesar Salad

Recently, I was given the opportunity on crowdtap.com to receive a McCormick Grill Mates Grill Ambassadors Party Kit.  If you haven't checked out crowdtap.com, you should.  You become a member and you do surveys and earn points.  You get offered products to comment on and review and every so often they send you the products and you try them out for FREE,  There's no obligation to sell anything.  You don't have to have that uncomfortable-ness that comes with gathering your nearest and dearest and then pressuring them to buy.  Instead, they send you stuff to try and you get your friends together and try the stuff and then do a survey about it.  So easy, so fun and I love getting free stuff.  I also love trying out new products so it is the perfect kind of site for me.

As I was saying, I recently got chosen to receive this awesome McCormick Grill Mates kit.  I was super excited because we use McCormick all the time and this kit offered new flavors in marinades and seasonings that I had not seen before.  This is the good stuff that arrived in the kit.


After we had a "try it all" party on our camping trip, we brought home what was left and figured that we could also try the new flavors on tried and true recipes.  I was craving chicken Caesar salad and we decided to flavor the chicken with the new Molasses Bacon seasoning blend before grilling and adding it to the salad.


Can I just say that the world is better with bacon in it?  The seasoning gave the chicken that bacon-y sweet flavor that just completed it for me.  I don't think I can ever go back.  This salad is one of those summer meals that my family just loves.  McCormick just made it better.  If you have the opportunity, you've gotta try it.  You won't regret it.  Thanks crowdtap.com and McCormick for putting a new twist on an old favorite!


Easy Chicken Caesar Salad 

Ingredients:
3-4 chicken breasts
McCormick's Molasses Bacon seasoning blend

Romaine lettuce, enough for 4 servings, in bite sized pieces
Refrigerated Caesar salad dressing (the stuff in the produce section)
Croutons

Parmesan cheese (optional)
Cracked black pepper
Fresh lemon

Directions:
Sprinkle chicken breasts generously with McCormick's Molasses Bacon seasoning blend on both sides.  Grill chicken until done.  Cut into strips and set aside.

In a large bowl combine romaine lettuce, Caesar salad dressing (to taste - we like quite a bit but put on what you like) and croutons.  Toss until lettuce is adequately coated.  Put onto plates and sprinkle with Parmesan cheese if desired.  Divide grilled chicken between plates.  Sprinkle with cracked black pepper and a squeeze of lemon.  Enjoy.

Monday, September 10, 2012

Berry Orange Smoothie

My kids love this and it is seriously ridiculously easy.  They ask all the time if I can make them a smoothie.  All it takes is one package of strawberries and a little orange juice and they are off with a nutritious and delicious drink.  I'm happy because it's NOT a juice box and they're happy because it's so tasty!

If you were so inclined, you could easily add yogurt to this.  I don't like yogurt so I don't add it.  If my kids were able to drink the whole blender full I probably would because it's so good for them but I end up finishing it up so I just can't go there.


Berry Orange Smoothies

Ingredients:
2 cups frozen berries
1 cup crushed ice
4 cups orange juice
1 tbsp icing sugar or regular white sugar
2 tsp lime juice

Directions:
Combine all ingredients in a blender.  Blend until smooth.  Serve immediately.

Sunday, September 9, 2012

Pickled Garlic


Pickled Garlic - Recipe at the end of the post!

I love to can anything.  I grew up in a family where pickling every fall was just part of the routine.  But I lived in Canada, where things grow happily in the ground throughout the summer.  When I was 23 I moved to Arizona where the summer temperatures and infrequent rain do not exactly contribute to happy growth in the garden.  It didn't matter to me though because I was too busy working and partying to care.  Fast forward to a couple of years ago where I am now a wife and a mom and a homeowner.  I realized that I kind of missed the routines of my youth (which seems to happen more and more as I grow older).  So houseparty.com was hosting a Ball canning party and I applied and I got it.  They sent me everything I needed to learn (and show others) the wonderful art of preserving.  And I was HOOKED.  Since then, I've been known to put anything that strikes me into jars.  Thanks to Pinterest and google I can find a recipe for anything.  My problem is that I cannot leave a recipe alone.  Somewhere in my twisted little mind I can and will improve upon it.  So everything I make is an adaptation of a recipe online.  I try to give credit to the original but I have to tweak something.  It's like a sickness.  Just so you know.

Yesterday we went to my MIL's for dinner.  As we were leaving, she handed me a bag of garlic.  "Take this home with you.  I won't use it all."  So my mind immediately went to what could I do with a bag of garlic?  "Well, pickle it, of course." said the little voice in my head.  I have always wanted to do it but never have.  So as soon as we got home I was on Pinterest and Google, reading about pickled garlic and BOTULISM.  I had second thoughts for about 6 seconds then promptly pulled two pickled garlic recipes from the web.  One was found on allrecipes.com (Laura's Pickled Garlic) and one was off of MarthaStewart.com.  I compared the two very similar recipes and then realized that they require an overnight standing period.  Although it was 10pm I figured I'd better get started.

The first obstacle was peeling that much damned garlic.  Seven heads.  SERIOUSLY.  What was I thinking?  So after about 5 minutes of cursing, back onto the internet I went where I found this article that made my life easier.  http://allrecipes.com/howto/peeling-garlic/  If you want, this recipe will accommodate fourteen heads of garlic with the same amount of brine.  It will make two jars instead of one.  See the *note below the jar picture.

The rest of the recipe was a piece of cake.  These ingredients are all stuff I have on hand.  That makes it easier.

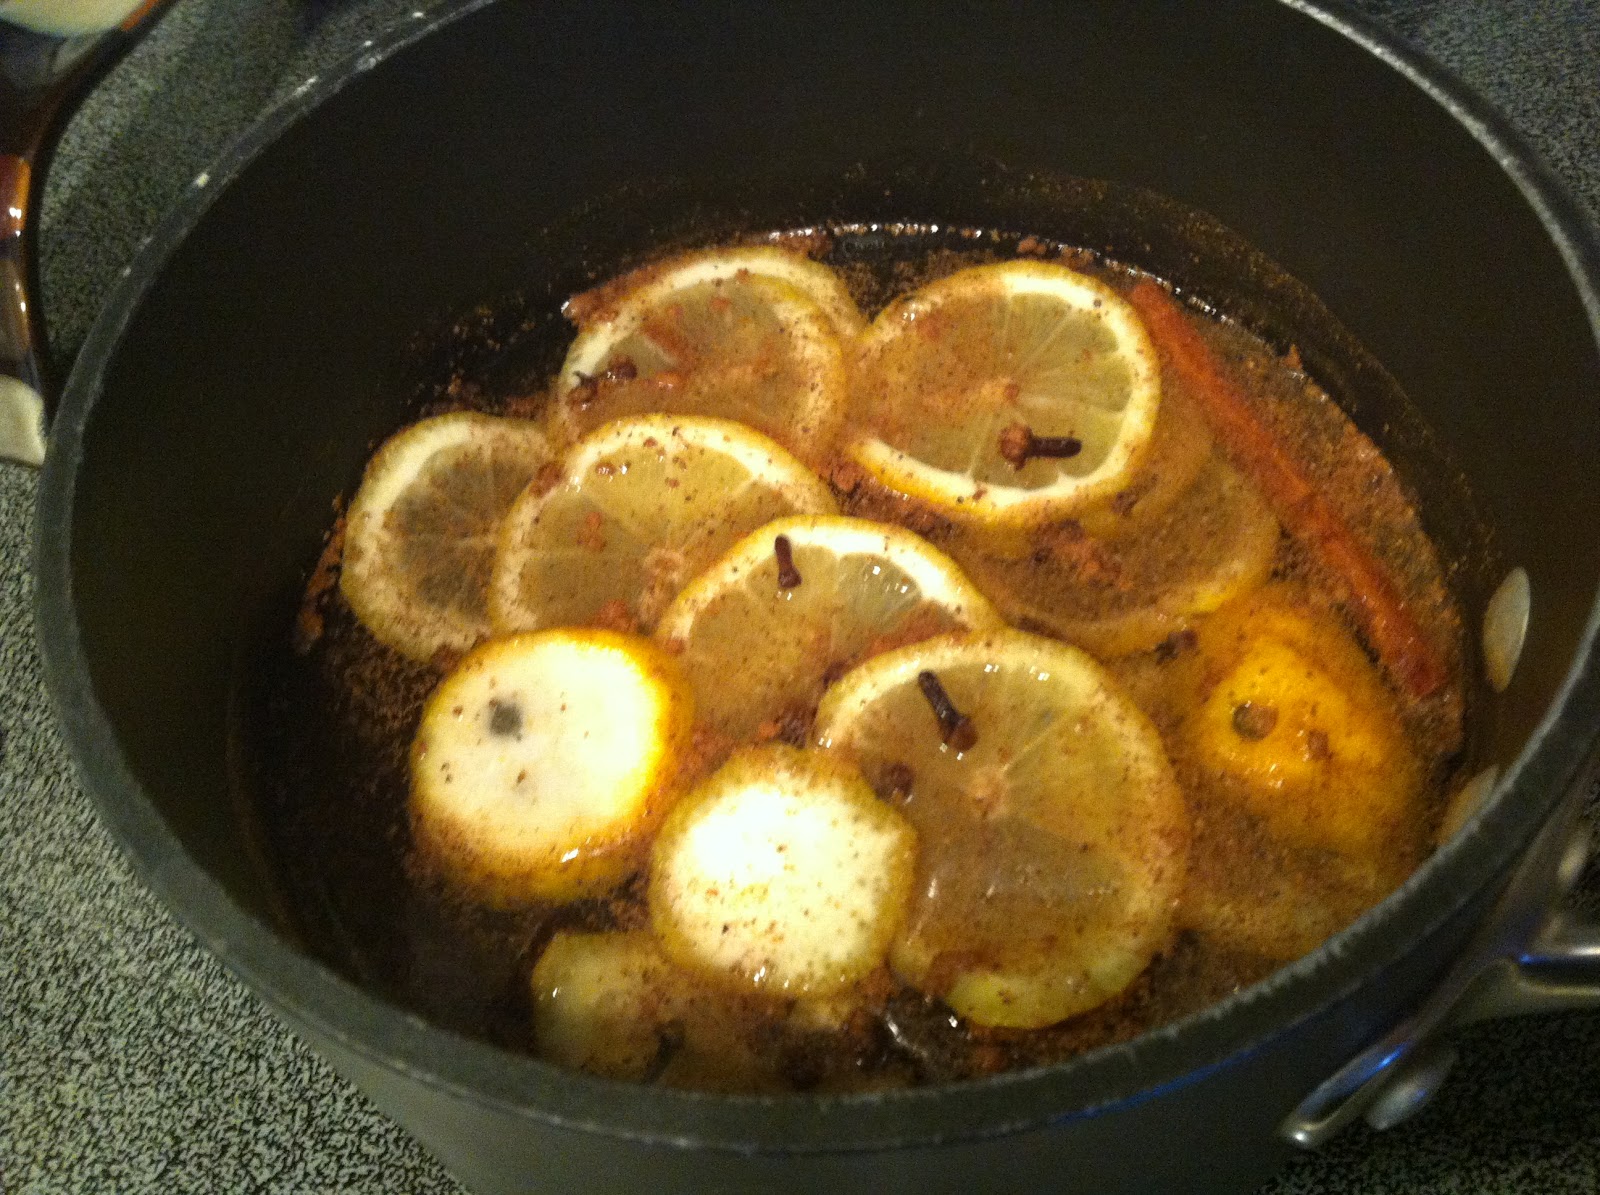
So basically, after the peeling of the garlic is accomplished, you put the rest of the stuff into a saucepan (NOT stainless steel - it reacts with the garlic and bad bad things happen LOL).  You bring it to a boil, boil for 2 minutes and then add the garlic and boil for another 5 minutes.  Allow to stand for about 10 minutes and put the whole saucepan in the refrigerator overnight.  One of the recipes called for leaving it on the counter overnight but I couldn't help but think of botulism...  Fridge is safer, IMO.

In the morning, you have two choices.  You can put in into a jar and put it in the refrigerator where it is said to be at full flavor in 2 weeks and will keep for 6 to 8 weeks OR you can water bath can it and it will keep until you are good and ready to eat it.  If it has to sit for two weeks anyway, I don't need it sitting there tempting me.  I'm a believer in water bath canning, so in order to do that, you first need a wide mouth pint jar.  Looks like this:


* Now if you're an overachiever and you have peeled 14 heads of garlic, the brine that you have made will be sufficient to fill TWO pint jars.  That's a LOT of work so I applaud you.  You, overachiever, will need two pint jars for the next step.

Water bath canning is not a hard thing to do.  All you need is a pot deep enough to submerge the jar 1/2 to 1 inch under the water and something to put at the bottom of the pot so that the jar does not rest directly on the bottom of the pot.   If you don't put something between them , the jar will crack.  I've had it happen and it's not pretty.  So there are fancy canning racks that you can buy or you can throw a little wire cooling rack into the bottom of the pot (if it's wide enough) or you can just use four jar rings and twist ties to make your own.  Since this pot is small (I was only doing one jar so I wasn't pulling out the big pot), this is what I made to sit in the bottom of my pot:


So fill the pot with water, put the rack in to the bottom and get the water on to boil.  Once it's boiling, put your jar(s) in to the water, making sure to fill them.  Turn the heat down to a simmer so that they're getting sterilized but not bouncing around. Put the ring(s) and the lid(s) that you're going to use in too and boil for about 5 minutes to sterilize the jar(s).  In the meantime, reheat the saucepan of garlic and brine.  If you put it cold food into hot jars and then put the same jars into boiling water then they'll crack.  Can you tell I've had this happen a few times?  Temperamental little jars!  Pull the jars, rings and seals out of the water, dumping the water from inside back in and set on a tea towel.  You're now ready to fill them.  

The easiest way I found to do this without creating a terrible mess is to first strain the solids from the liquids.  If you do it so that the liquid goes into a big measuring cup with a spout, it's easier to fill the jars.  Take your garlic, peppercorn, pepper, bay leaf and pack the jar(s).  You don't want to go higher than about 1/4 - 1/2 inch from the top of the jar.  Then take your big measuring cup of brine and fill the jar(s), leaving about 1/4 inch from the top of the jar.  This is called "headspace" and is important to get the jars to seal properly. 

BEFORE you put on the lid, take a damp paper towel and wipe the rim of the jar(s).  Then repeat with a dry paper towel.  You may now put on your lid(s) and put on the rings.  Do NOT overtighten.  Put on the ring with one hand and only go until it is fingertip tight.  You can tighten later but for now the air bubbles have to have a way to escape.  Put the jar(s) into the water bath, making sure that the water covers the lids by 1/2 to 1 inch.  Turn the heat back up and boil the heck out of the jar(s) for 10 minutes.  Remove from heat and let the jar(s) stand in the water for 5 minutes after the fact.  Remove from water bath and set on a tea towel on the counter.  LEAVE THEM ALONE.  You'll hear a pop as the jar seals and the lid will be sucked in.  This is good!  If they don't get sucked down, something went wrong and the jars should be reprocessed using new lids.  Assuming everything has gone right, you can tighten the rings now if you want. 

I've read that it takes a full two weeks after canning for the garlic to be ready.  Be patient.  You'll be glad you did.  Enjoy!

Here's my adapted recipe:


Pickled Garlic
Makes 1 wide mouth pint jar (7 bulbs garlic) or 2 jars (14 bulbs garlic)

Ingredients
7 bulbs garlic or 14 bulbs garlic (overachiever!)
4 cups white vinegar
1/3 cup white sugar
1 teaspoon whole black peppercorns
4 whole cloves
1 tbsp honey
1 bay leaf
2 dried red chile peppers
1 tablespoons lemon juice

Directions
Peel  garlic. Set aside.

In a saucepan, combine the vinegar, sugar, peppercorns, cloves, honey, bay leaf, chile peppers and lemon juice. Bring to a boil and cook for 2 minutes. Add the garlic, and continue to boil for another 5 minutes.  Remove from the heat and let stand overnight in the refrigerator.

Sterilize one pint sized wide mouth jar (or two if you’ve used 14 bulbs of garlic).  On stovetop, re-warm saucepan of brine and garlic until hot.  Strain solids from liquids into a large measuring cup if possible. 

Pack garlic, peppercorns, peppers and bay leaf into jar.  Fill with brine to ¼ inch headspace. 
Process in water bath canner for 10 minutes.  Remove from heat.  Allow to stand in hot water for additional 5 minutes. 

Do not open for two weeks for maximum flavor. 

NOTE:  If making only one jar, leftover brine can be used for salad dressings and marinades wherever vinegar is used.  It is now spicy garlic infused vinegar.

Adapted from “Laura’s Pickled Garlic” recipe on allrecipes.com and “Pickled Garlic” on Marthastewart.com


Monday, September 3, 2012

We pulled off our Kitchen Update On a Budget!

I've been talking about this for a while now and I finally have the pictures to post of the kitchen.  I think it's awesome and am excited to share on here.  We worked two weekends and assorted evenings to get it done, had a pause between paychecks so I could buy more backsplash, but all in all managed to get it all done and done on a budget.  Total spent was right around $700 to do the entire kitchen, including a $200 tile saw that I will use for other stuff so it shouldn't really count, right?

Anyway, I hated my kitchen.  It was boring and needed an update but I'm on a mission to get these bills paid off so we were really limited on what we could do.  We can't afford new appliances right now and if I had my way, I'd gut the whole thing but I digress....  Here's the before:


We *almost* caved and bought new countertops but it's not worth it for us to do it when the basic bones of the kitchen are different than those that I see in my dream kitchen.  I'm not buying granite twice. At $5000 or so to do it, we're not ready anyway.  So the first step was to paint/stain the cabinets.  Since the bathroom experiment with the Rustoleum stuff worked so well, we bought a box to get started.  We figured we'd need two because this looks like more than 40 linear feet to me but it turned out that we only needed ONE box.  $75 at home depot.  Awesome.  So the cabinet doors started coming off.  Man there's a lot of them.  Who knew?  And for a long while, things looked like this:


My hubby is a pretty good sport and he took the job of painting while I took the job of tiling.  We shared the job of swearing.  That's love.  We started to get an idea of what it was going to look like when I got the backsplash up and he had the fixed cabinets done with the first coat of the paint.  It looked not half bad!


But then I decided that I had to go with my vision of doing the whole wall in backsplash.  Not all of them - just the one behind the stove.  I think at it's tallest point it's 11 feet.  But I could see it in my mind and I knew it would look awesome.  That is the exact moment that I realized that we didn't have the cash to do it right that second.  And I pouted.  And I whined.  And Dave Ramsey repeated "not on credit" in my head over and over and over.  And so I waited until we got paid.  And then off to Home Depot we went... AGAIN.  I swear they know us by name by now.  But it was so worth it.  We also went to Lowes because they have better light fixtures....  And suddenly, it was DONE.  And I LOVE it.  We didn't pay someone too much to do it for us.  We did it ourselves.  And we did it together.  And that's awesome.  We pulled it off.  It's updated and it looks great and I love my backsplashed wall.  And it will keep me happy for a while while I save my pennies to gut the whole thing.  Someday...  You should see my plans for that...   :)

Here's the finished product: